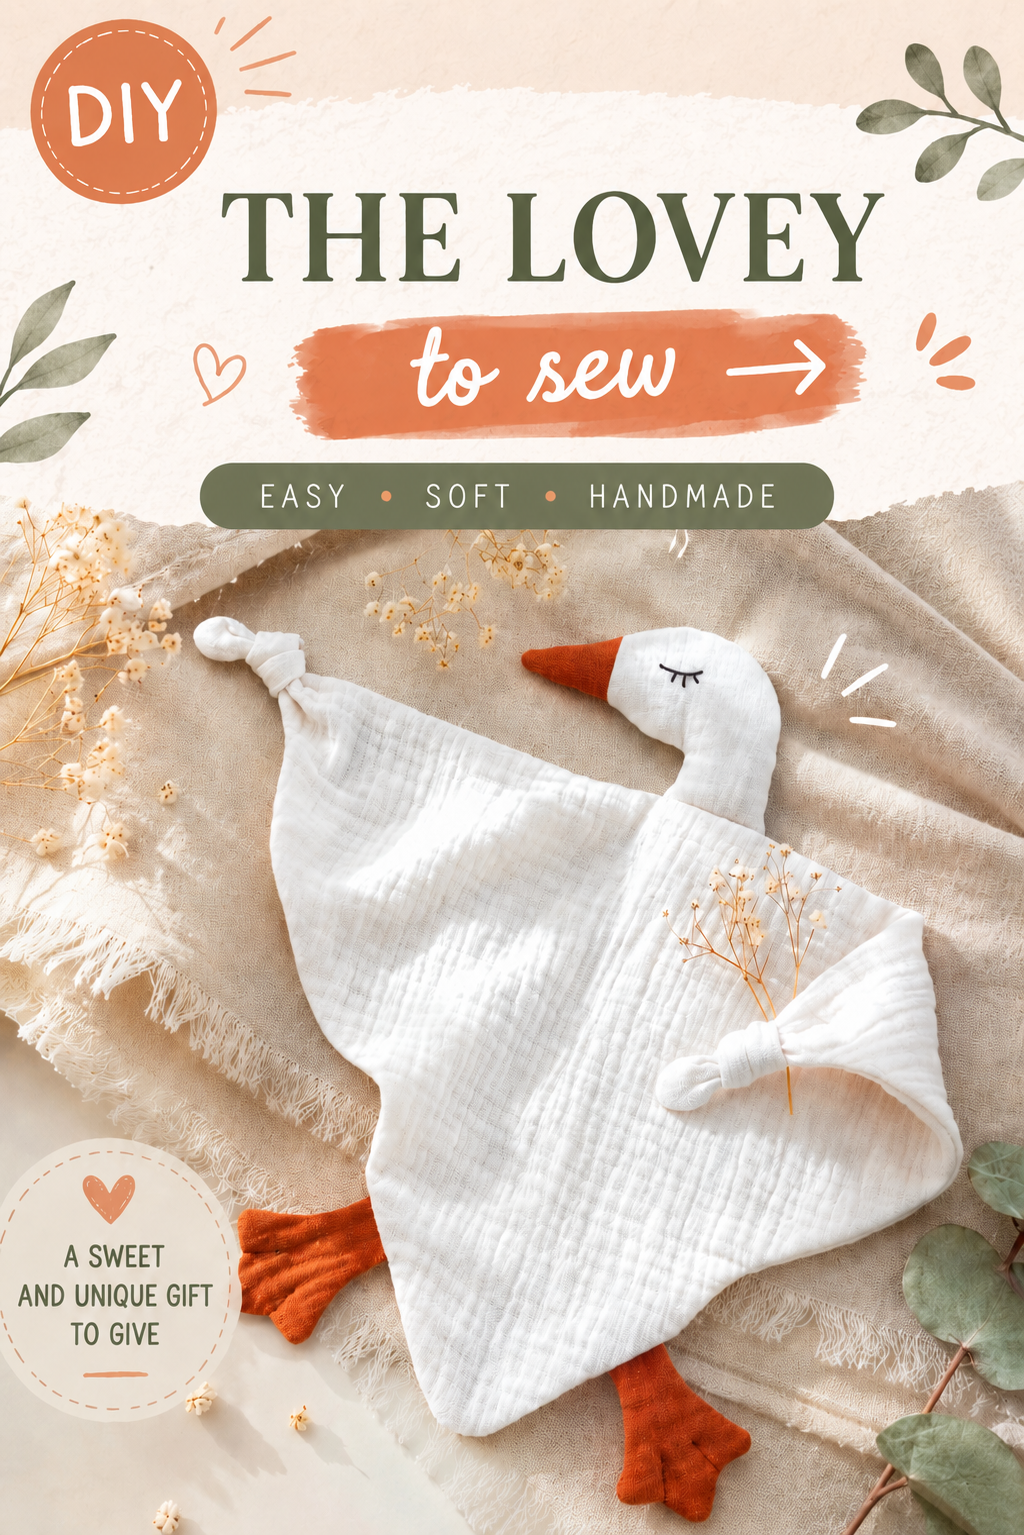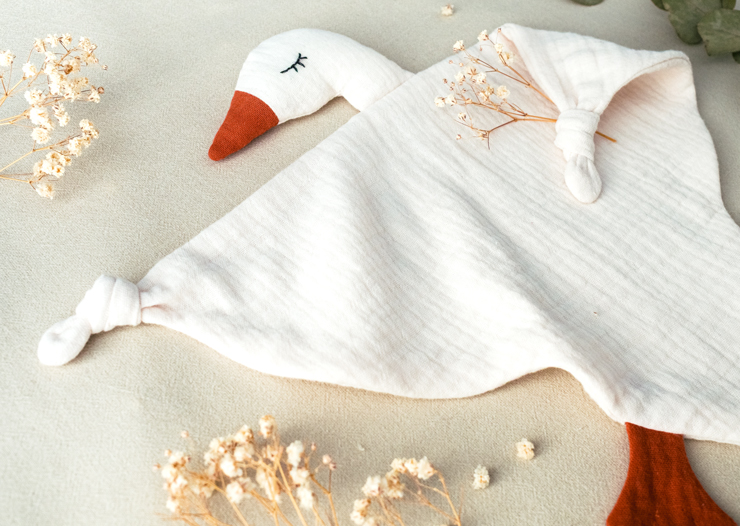
This step-by-step sewing tutorial shows you how to sew an adorable flat goose lovey for baby. Even if you’re new to sewing, this is a beginner-friendly project — promise!
👉 You can also watch the video tutorial by clicking here.
Materials & Supplies for the Goose Lovey
In addition to your sewing machine and basic sewing supplies (needles, scissors, pins, ruler, etc.), you’ll need:
- a 60 × 60 cm (23.6 × 23.6 in) piece of ivory cotton gauze fabric
- a 30 × 25 cm (11.8 × 9.8 in) piece of orange cotton gauze fabric
- a small amount of polyester fiberfill (for the goose’s head)
- matching sewing thread
- black thread
- a Frixion erasable pen
- a craft knife
- and the printed PDF sewing pattern.
1. Assemble the PDF Sewing Pattern
After printing the lovey PDF pattern on standard A4 paper, cut out all the pattern pieces along the outer lines. Then tape the 2 sections of the Body pattern piece together along the joining line.
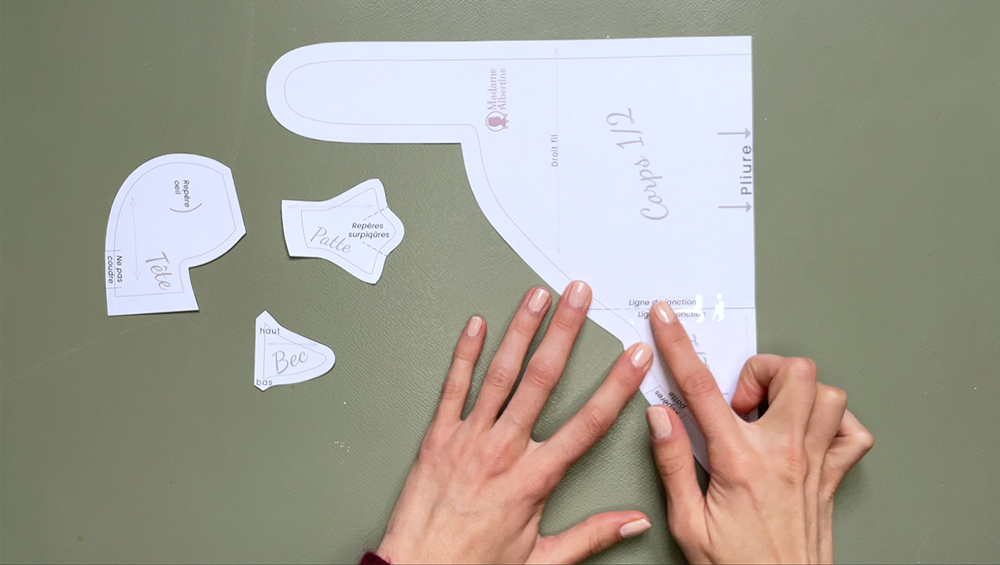
2. Prepare the Body and Head Pieces
Fold the ivory fabric in half, right sides together. The fold should run parallel to the grainline. Place the Body pattern piece on top, aligning it with the fabric fold, then pin it in place. Position the Head pattern piece beside it and pin that one too. Cut through both layers of fabric, following the edges of the paper pattern.
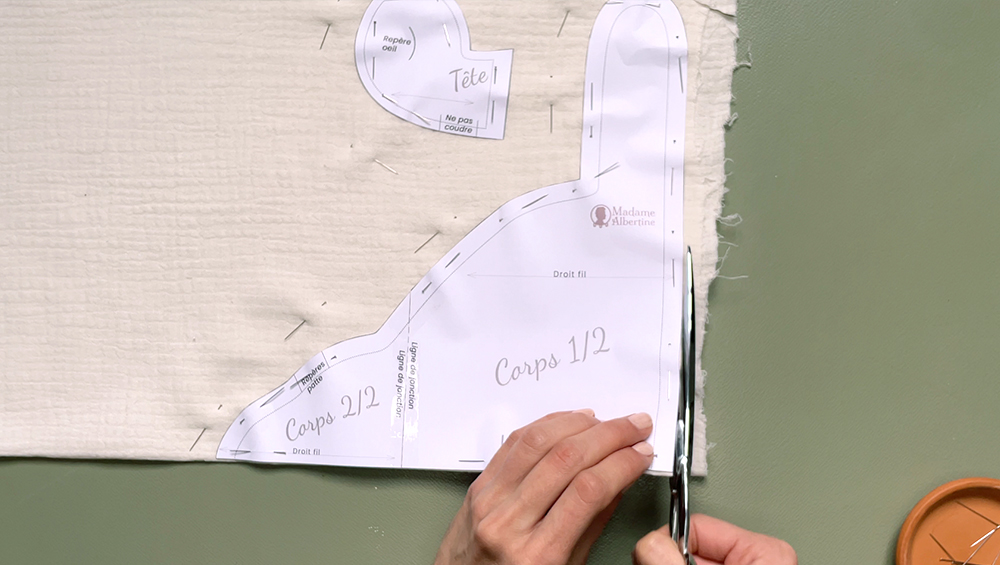
Remove the pins from the Body pattern piece and unfold the fabric: you now have the first side of the lovey body. Place the same pattern piece back onto the folded fabric and pin it as before, then cut out a second identical piece. You now have the second side of the body.
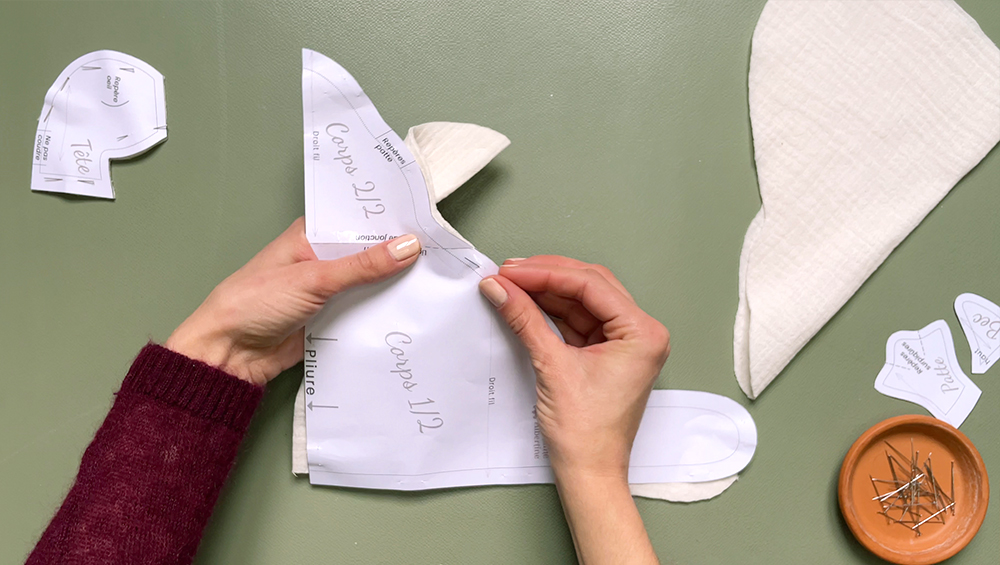
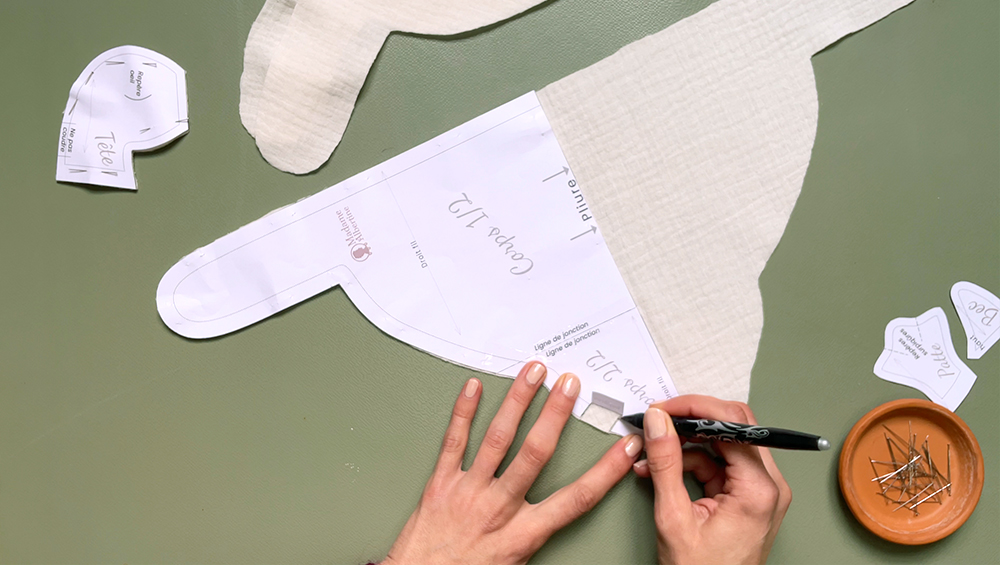
Now let’s transfer the pattern markings. Start by cutting into the Body pattern at the 2 small leg placement marks, then fold back the little paper tabs you have created. Next, on the right side of one of the two body pieces, align the pattern on the left and transfer the 2 leg placement marks using your erasable pen. Flip the pattern over, align it on the right-hand side and transfer the marks again.
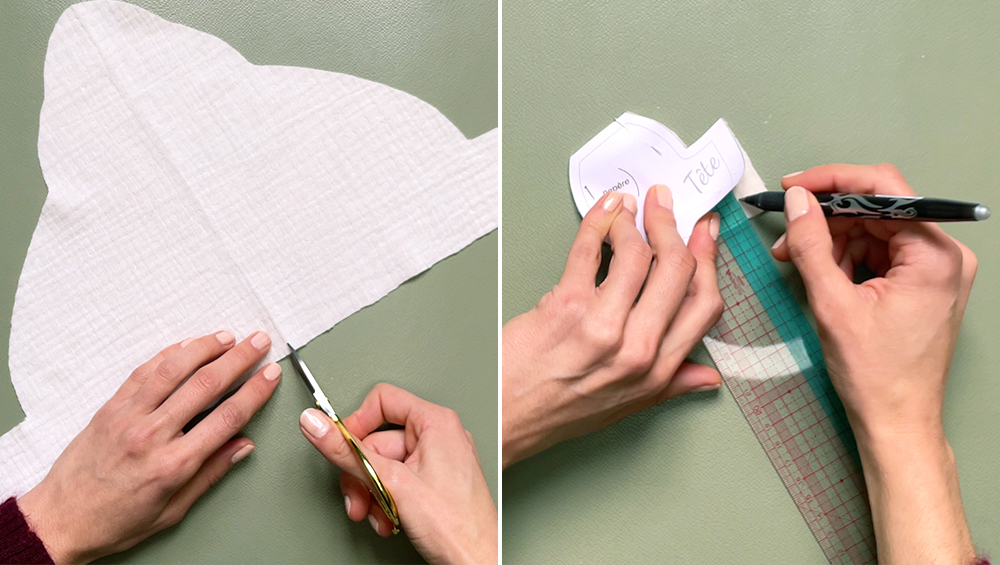
To help position the head later, make a small 3 mm (⅛ in) notch at the very top, exactly in the center of the same body piece.
You also need to transfer the “Do not sew” markings from the Head pattern piece onto the wrong side of one of the two head pieces using your erasable pen.
3. Cut Out the Goose Beak and Legs
Fold the orange fabric wrong sides together. The fold should run parallel to the grainline. Place the Leg and Beak pattern pieces on the fabric and secure them with a pin. Trace around the paper pieces with your erasable pen.
As you’ve probably guessed, we need a second leg! Pin the Leg pattern piece beside the first one and trace around it again.
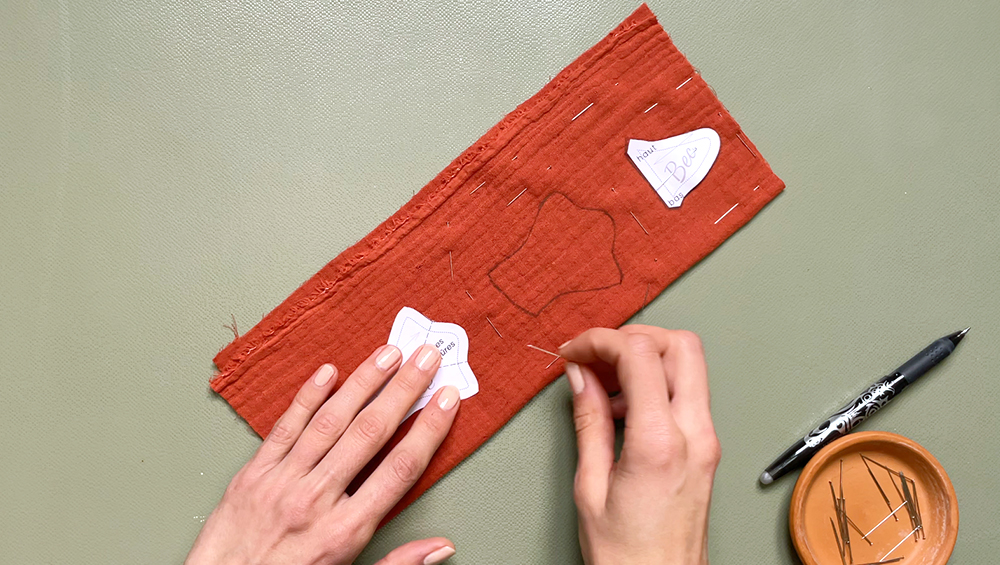
Remove the paper pattern pieces, then add a few pins as shown below to keep the fabric layers securely in place. Cut into the Leg pattern piece along the topstitching marks and fold back the paper tabs. Finally, transfer these markings onto the right side of both legs using your erasable pen.
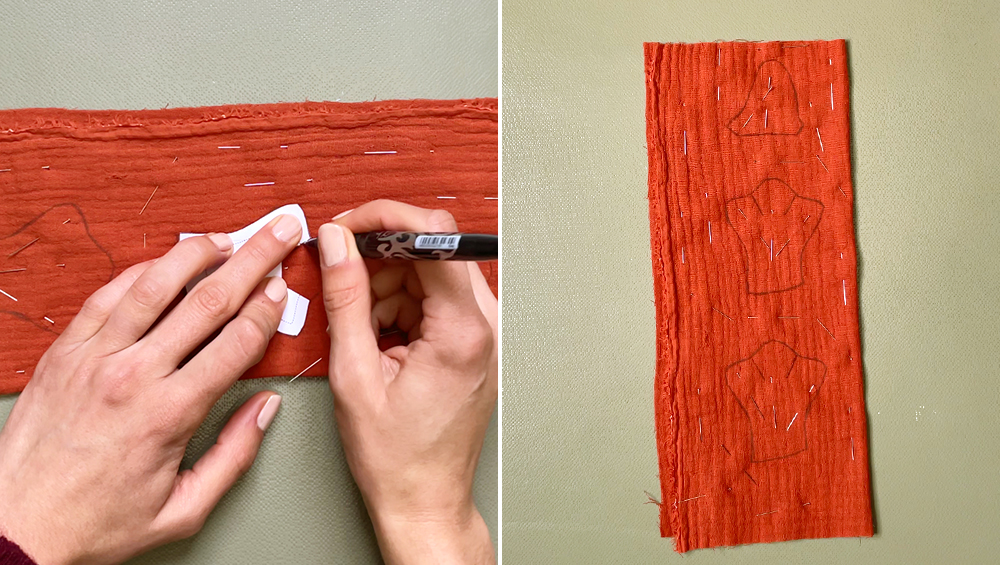
Cut through both layers of fabric along the traced outlines.
4. Sew and Turn the Legs
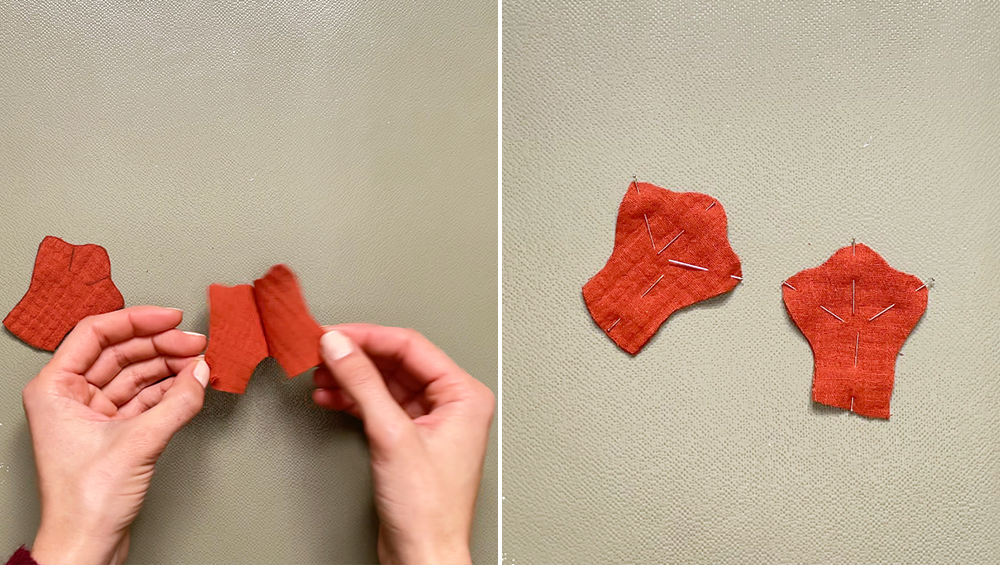
Separate the leg pieces, then pin each pair right sides together. Leaving the base of each leg open so you can turn it right side out later, sew around the remaining edges with a straight stitch, 5 mm (0.2 in) from the edge.
For all the seams on this goose lovey, I recommend backstitching at the beginning and end of each seam.
🧡 MY TIP 🧡
Small pieces like these have fairly tight curves. Shorten your stitch length to 1.8 mm for a neat, precise finish.
Clip and notch the seam allowances around all corners and curves, then turn the legs right side out. Make sure to gently push out the corners for a clean shape.
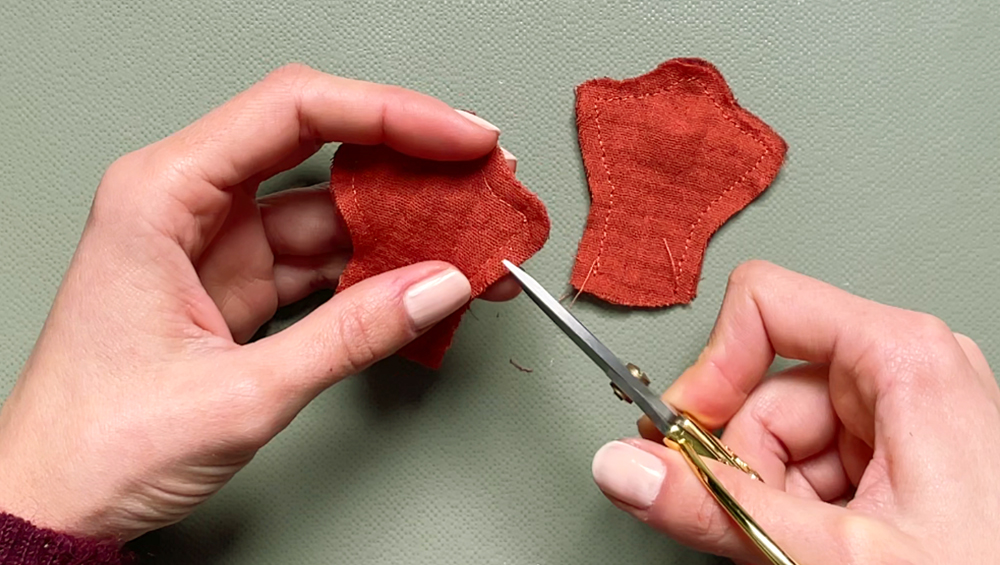
Now topstitch the toes using a straight stitch, following the markings you transferred earlier. For topstitching, I recommend a stitch length of 3 mm.
5. Hand-Embroider the Lovey’s Eyes
Place the Head pattern piece on a cutting mat — let’s avoid slicing up your lovely desk 🤭 — and carefully cut along the eye curve with a craft knife. Fold back the small curved paper tab so you can transfer the eyelid shape onto the right side of both head pieces. If you like, you can also draw 3 little eyelashes.
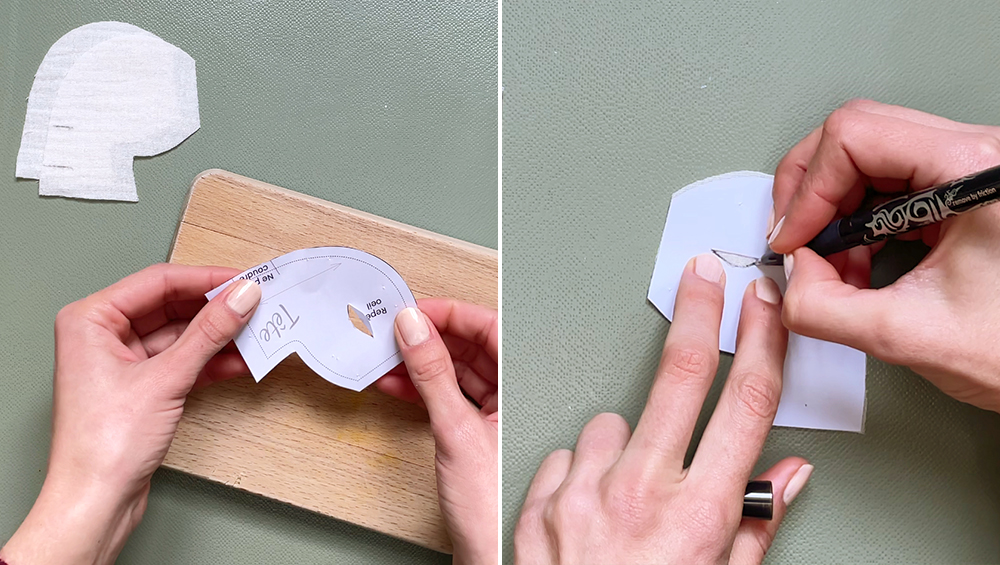
The eyes are hand embroidered using a backstitch. Thread an embroidery needle with black thread and double it over. Cut approximately 30 cm (12 in) of doubled thread and tie a knot at the end.
Working from the back, bring the needle through the fabric about 3 mm (⅛ in) from the end of the eye and gently pull the thread through until the knot reaches the fabric. Insert the needle back down at the end of the eyelid line. Bring the needle back up approximately 3 mm from the previous stitch, then insert it into the same hole where the previous stitch ended. Continue in the same way until you reach the end, then secure the thread with a knot on the back.
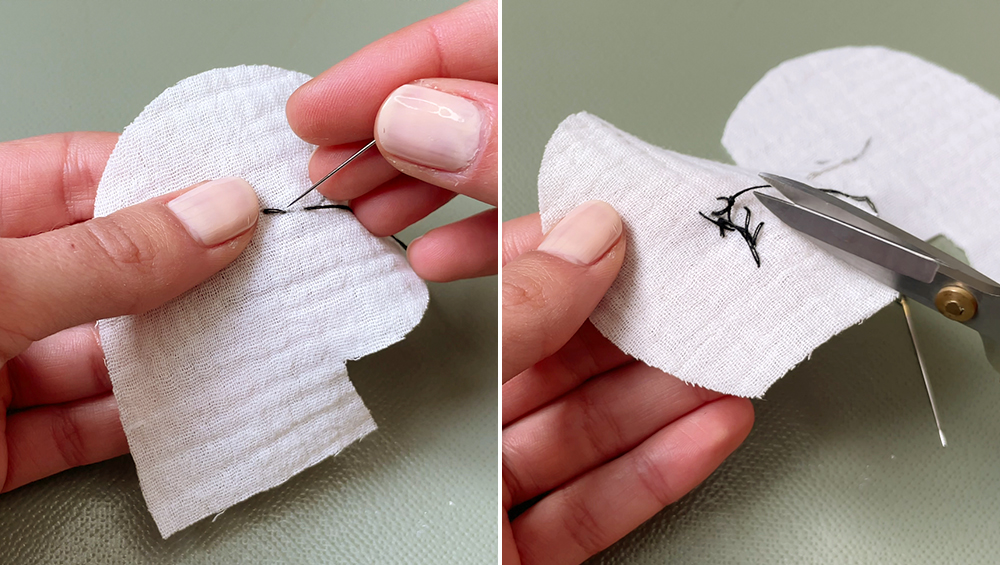
Most importantly, don’t pull the thread too tightly while embroidering, as this may cause the fabric to pucker.
6. Sew the Goose Head
Place the beak and head pieces right sides together, making sure the beak is facing the correct direction as shown below, then pin them in place.
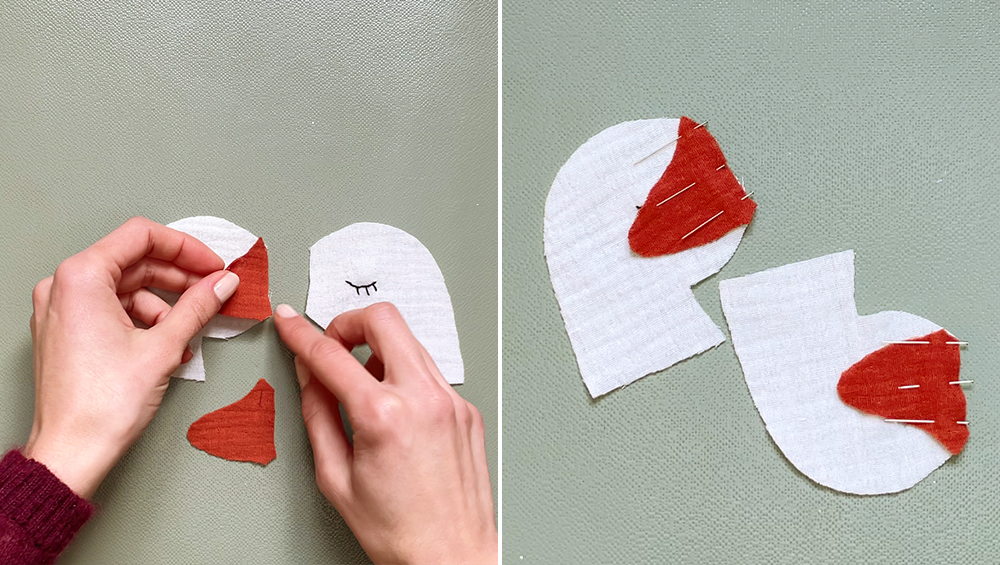
Sew with a straight stitch 5 mm (0.2 in) from the edge, then press the seam allowances open.
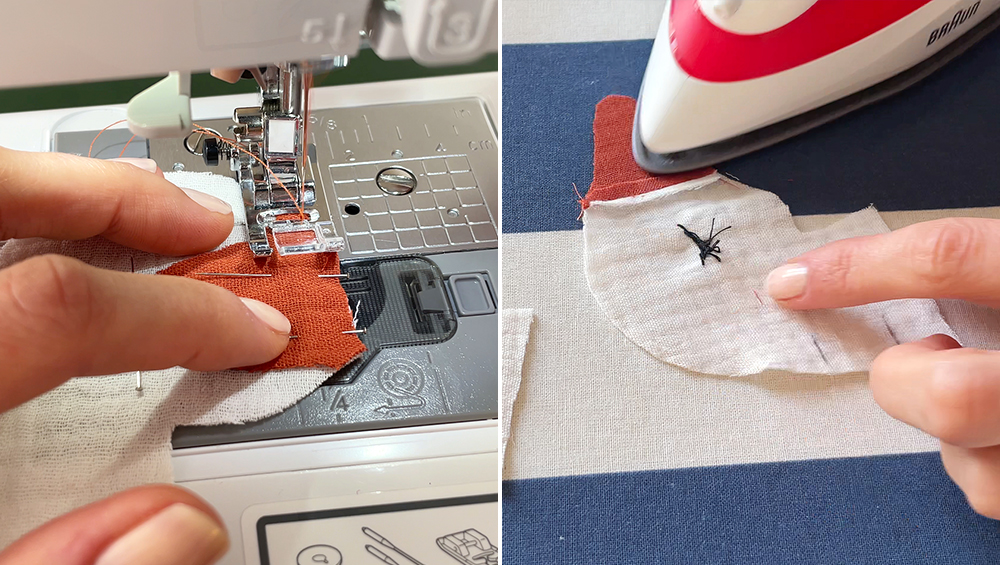
Next, pin the two head pieces right sides together.
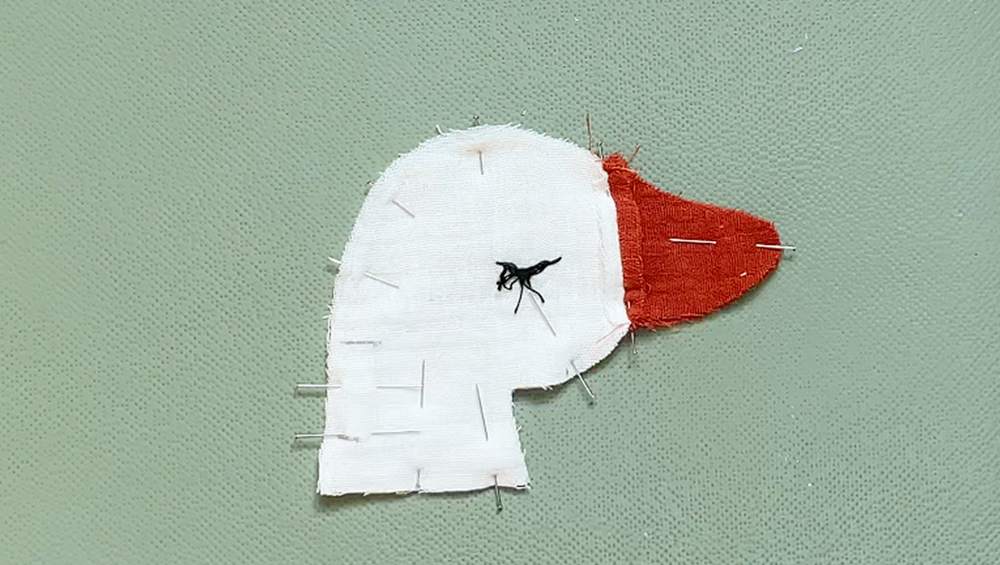
Sewing friends, here’s an important detail: make sure you carefully align the beak seams first. If they don’t match up properly…
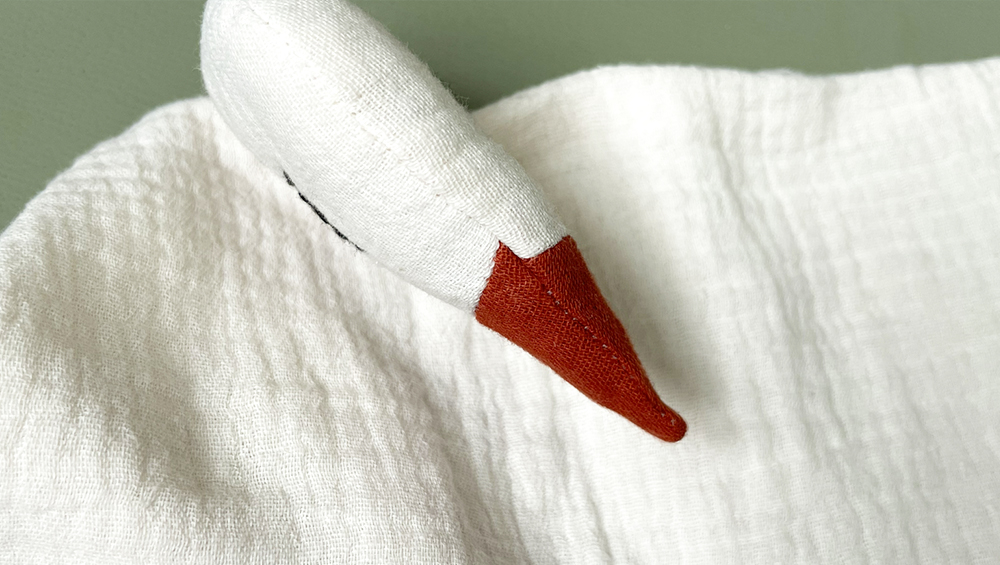
Sew around the head 5 mm (0.2 in) from the edge, leaving 2 areas open: the back of the head between the markings and the base of the neck.
🧡 MY TIP 🧡
For an extra-neat finish, I recommend sewing the head section with white thread and the beak section with orange thread. There’s no need to change the bobbin thread — it won’t be visible!
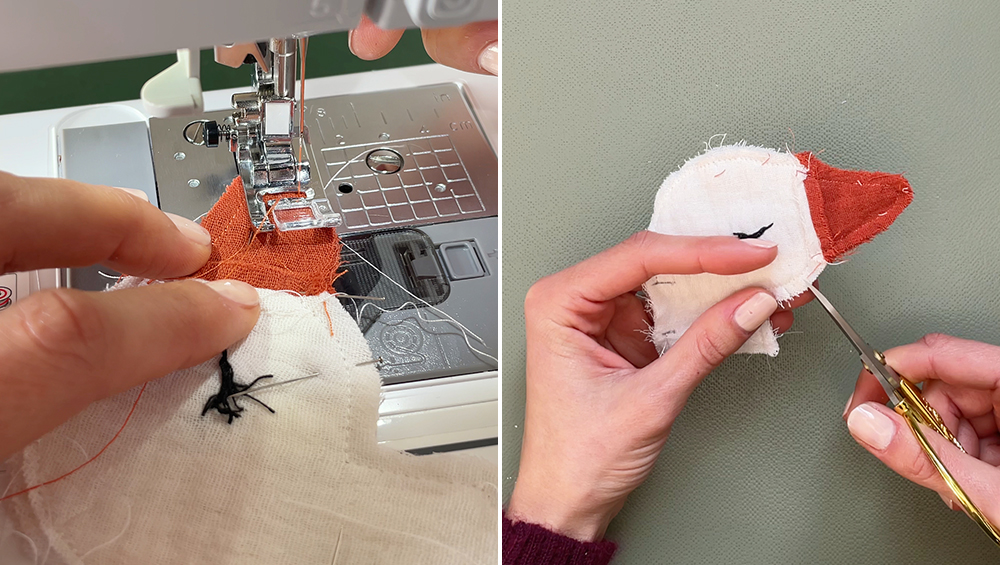
Clip and notch the seam allowances around all corners and curves, then turn the head right side out.
7. Assemble the Goose Lovey
On the body piece with the placement markings, center the lovey’s head using the small notch as a guide and carefully align the raw edges. Pin it in place.
Position the legs between the markings, making sure they are facing the correct direction and that the 3 short raw edges are aligned. Baste these 3 pieces in place by sewing 5 mm (0.2 in) from the edge, then remove the pins.
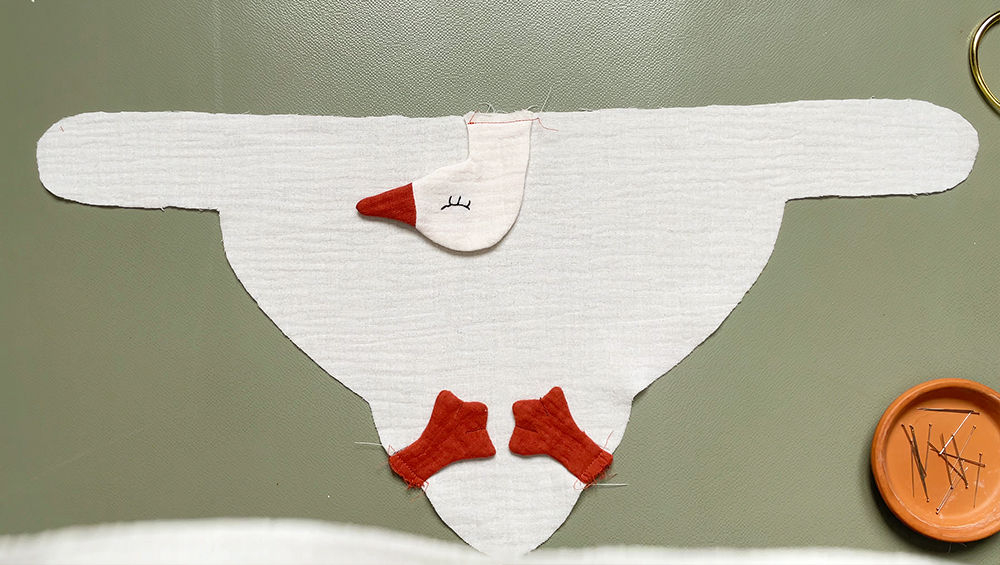
Now it’s time for the final assembly! Place the second body piece right sides together over the first. The head and legs should now be sandwiched between the two body pieces. Pin all the way around.
Before sewing, mark a 7 cm (2.8 in) opening along the top of one wing, as shown below. Leave this section unstitched so you can turn the lovey right side out.
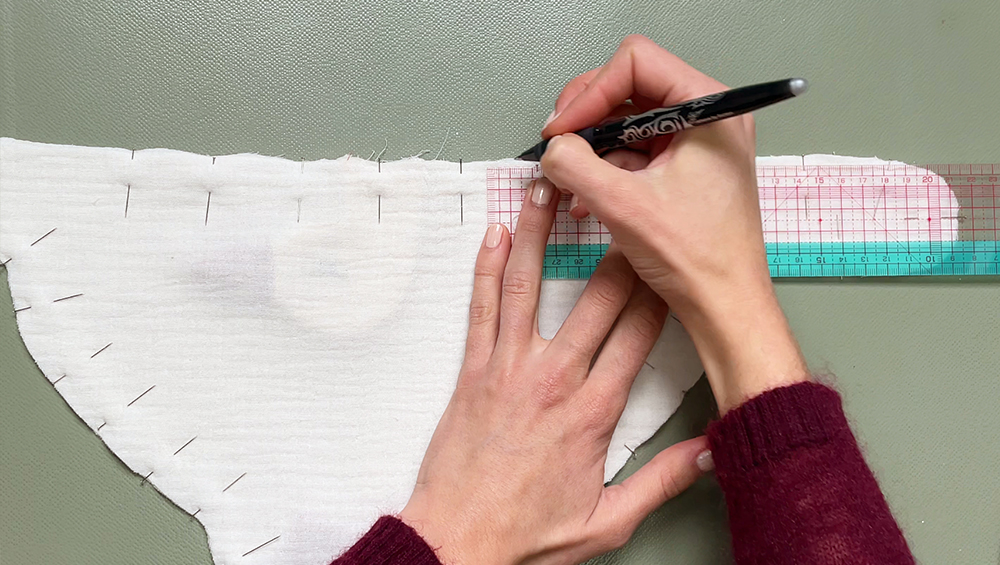
Sew all the way around, this time using a 1 cm (⅜ in) seam allowance.
As usual, clip and notch all the curves and corners. Then turn your goose lovey right side out through the opening.
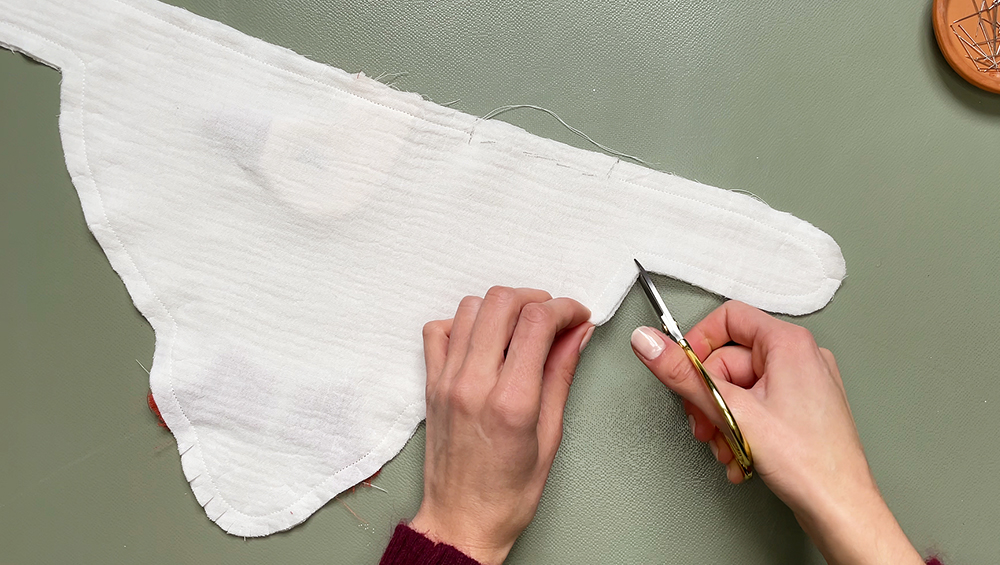
Finally, add a small amount of polyester fiberfill to the lovey’s head.
8. Close the Openings with a Ladder Stitch
Press the seam allowances of the large opening inward with your iron.
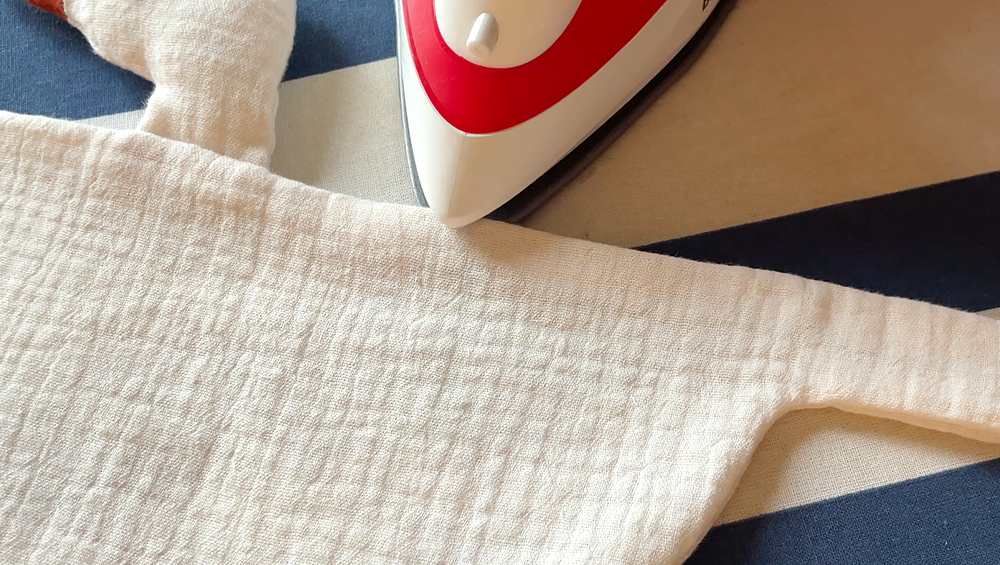
You can now close both openings by hand using a ladder stitch (also known as an invisible stitch).
🧡 MY TIP 🧡
For a neat, even finish, make sure the stitches on both sides of the opening are positioned directly opposite one another.
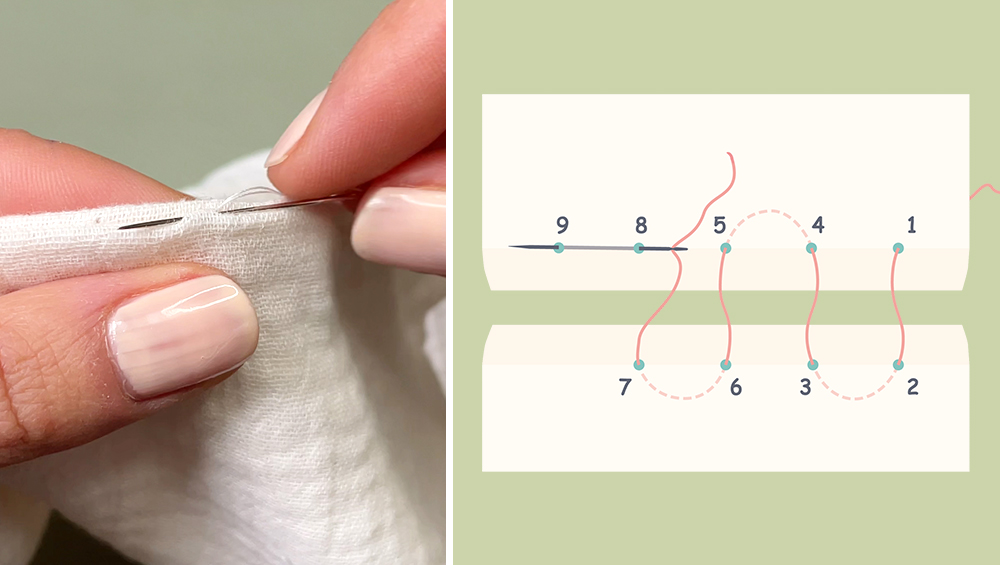
The final touch: tie a knot at the end of each wing, and your goose lovey is ready to fly off to its future little owner!