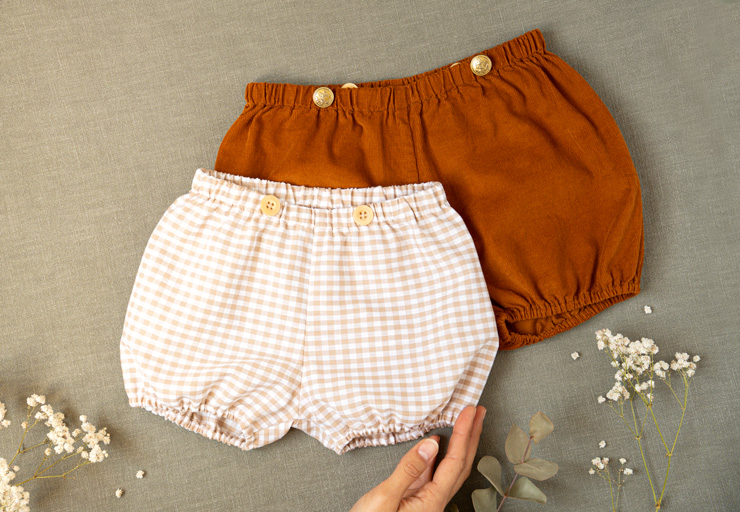
In this sewing tutorial, you’ll learn how to sew a pair of unisex baby bloomers using a PDF sewing pattern available in 5 sizes, from 3 to 24 months. Baby bloomers are a true wardrobe staple for both girls and boys: they’re comfortable enough to let baby move freely and practical for covering a diaper. And they’re a perfect project if you’re new to sewing!
👉 You can also watch the video tutorial by clicking here.
Materials & Supplies for Sewing Baby Bloomers
In addition to your sewing machine and basic sewing supplies (needles, scissors, pins, ruler, etc.), you’ll need:
- a piece of lightweight woven fabric, 55 cm (21.7 in) long × 140 cm (55 in) wide (cotton, linen blend, seersucker, etc.)
- 2 pieces of 5 mm (3/16 in) wide elastic, each measuring

3 months: 26 cm (10.2 in) | 6 months: 28 cm (11 in) | 12 months: 30 cm (11.8 in) | 18 months: 32 cm (12.6 in) | 24 months: 34 cm (13.4 in) - 1 piece of 1.5 cm (5/8 in) wide elastic, measuring
3 months: 46.5 cm (18.3 in) | 6 months: 49 cm (19.3 in) | 12 months: 52 cm (20.5 in) | 18 months: 54 cm (21.3 in) | 24 months: 56 cm (22 in) - 4 buttons, 17–18 mm (about 11/16 in) in diameter
- polyester sewing thread
- a Frixion erasable pen
- a sewing machine
- and the printed PDF sewing pattern.
1. Cut and Assemble the PDF Sewing Pattern
First, cut the pattern sheets along the dashed joining lines. Then assemble the 4 sections, carefully matching up the pattern outlines, and tape the sheets together. Make sure to secure the areas where the pattern lines meet.
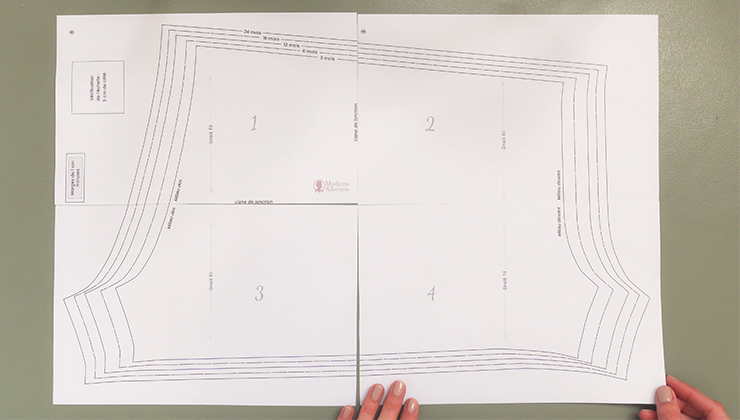
Depending on the size you’ve chosen (3 months, 6 months, 12 months, 18 months or 24 months), cut out the baby bloomers pattern along the corresponding size line.
2. Prepare the Fabric Pieces
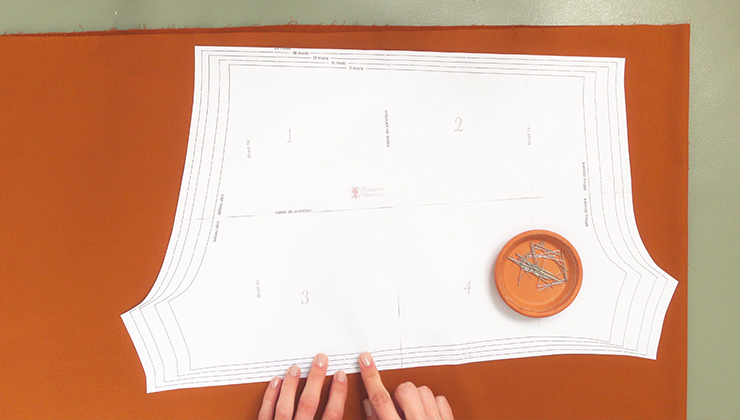
Fold the fabric right sides together. Place the pattern on top, making sure the grainline is running in the correct direction. Then pin the pattern to the fabric, positioning the pins close to the cutting lines.
🧡 MY TIP 🧡
For extra stability while cutting, add a few pins outside the pattern piece, again positioning them close to the cutting lines.
Now cut through both layers of fabric, keeping your scissors right against the edges of the paper pattern. Important: once you’re finished, remove the pins and paper pattern, but don’t separate the two fabric layers — we’re going to sew them together right away, with right sides facing.
3. Sew the Center Front and Center Back Seams
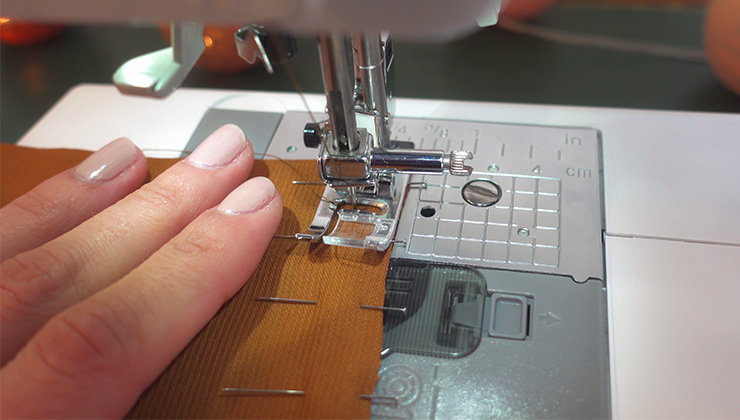
Pin the fabric edges together along the future center back and center front seams, then sew both seams with a straight stitch using a 1 cm (3/8 in) seam allowance.
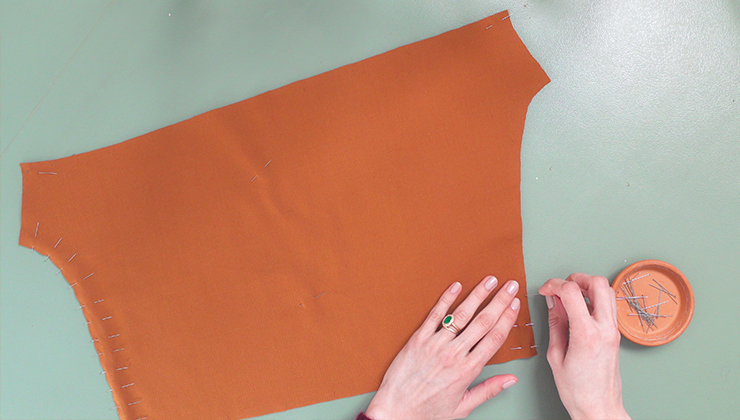
For these seams, as well as the ones that follow, remember to backstitch a few stitches at the beginning and end.
🧡 MY TIP 🧡
Unlike some tutorials, I don’t recommend leaving the raw fabric edges unfinished. Take a few extra minutes to finish your seam allowances to prevent the fabric from fraying with wear and washing — you’ll thank me later 😁. Use an overcasting stitch on your sewing machine, or simply use a zigzag stitch!
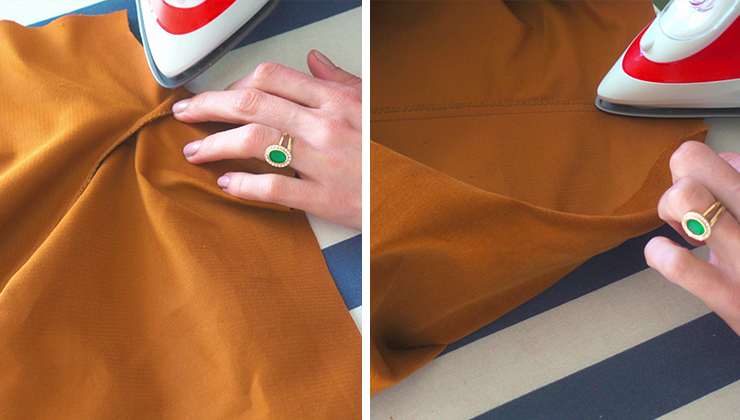
Next, press both seams with your iron and press the seam allowances to one side — it doesn’t matter which side.
4. Sew the Crotch Seam
Align the two sections of the crotch seam as shown below, making sure the existing seams match up, then pin them together.
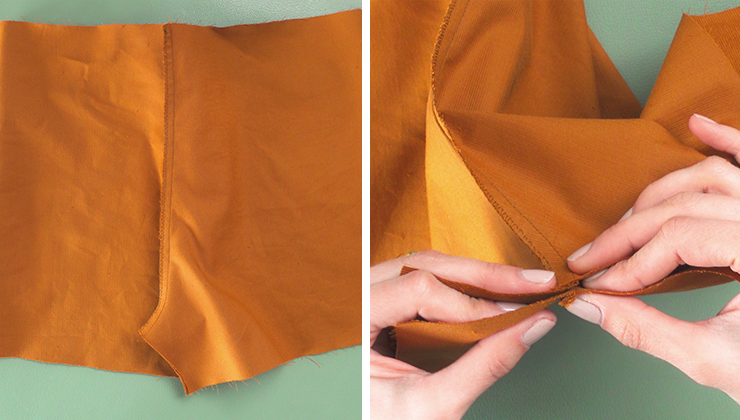
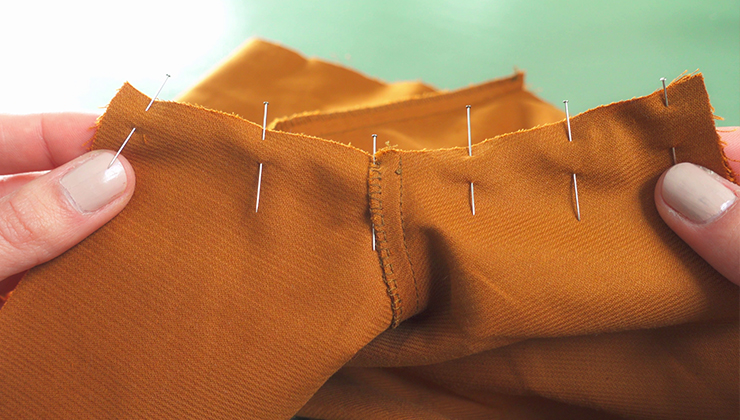
Now sew with a straight stitch using a 1 cm (3/8 in) seam allowance. Sew in the same direction that the seam allowances are pressed so they don’t flip up underneath the presser foot.
As before, finish the raw seam allowances and then press the seam flat.
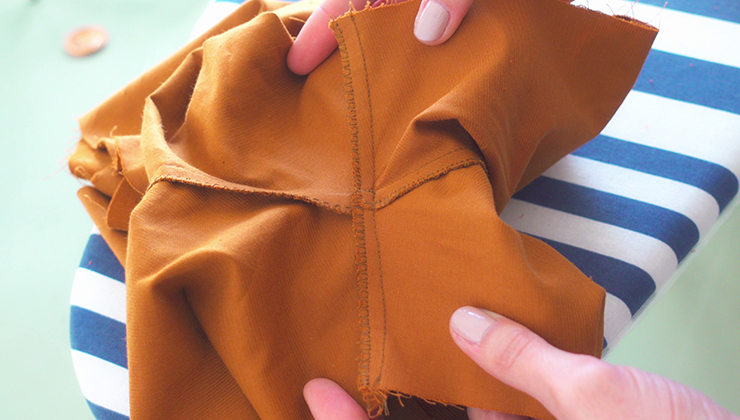
Now it’s time to make the elastic casings, starting with the waistband.
5. Sew the Elastic Waistband Casing
At the top of the bloomers, on the wrong side of the fabric, press a first fold of 1 cm (3/8 in). Then fold and press again, this time by 2 cm (3/4 in). Pin the folded edge approximately every 3 to 4 cm (1.2–1.6 in).
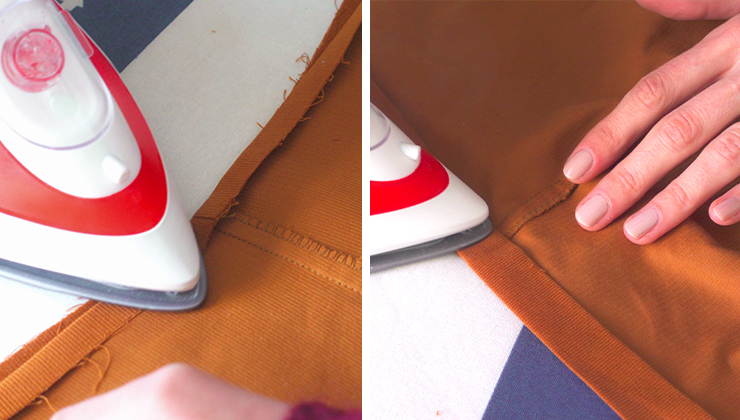
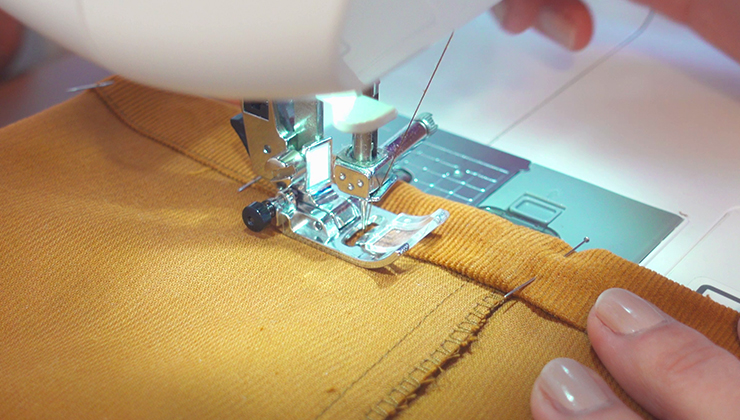
To turn this folded hem into an elastic casing — a channel through which the elastic will be threaded — stitch approximately 2 mm from the inner folded edge.
Important: leave a small 3 cm (1.2 in) opening near either the center front or center back seam. You’ll need this opening to insert the elastic.
🧡 MY TIP 🧡
For neat, even topstitching, I recommend setting your straight stitch length to 3 mm.
Now take the 1.5 cm (5/8 in) wide elastic and attach a safety pin to one end. Thread the elastic through the casing using the small opening, guiding it all the way around until it comes back out through the same opening.
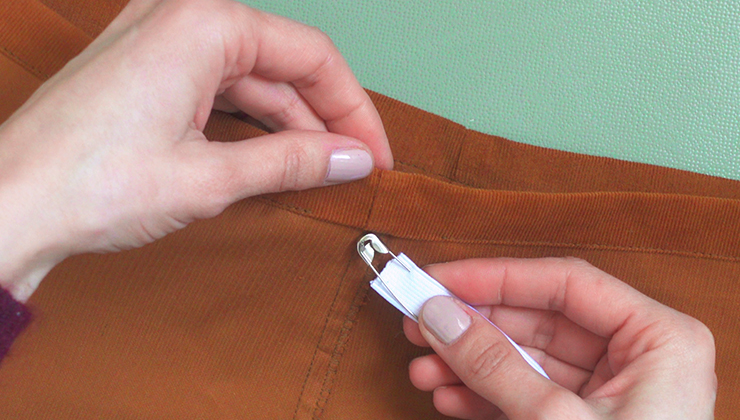
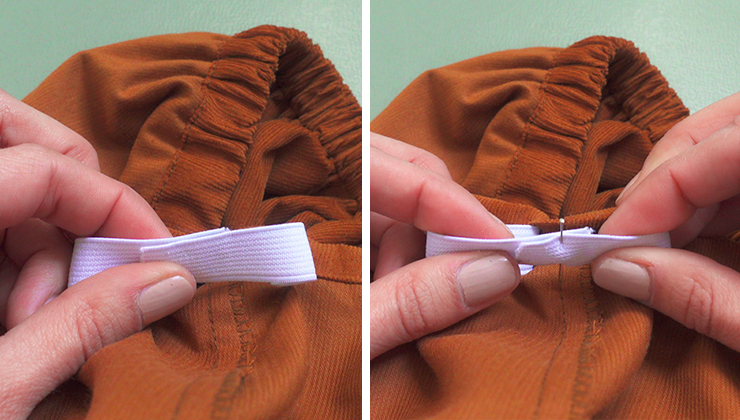
Overlap the two ends of the elastic by approximately 2 cm (3/4 in) and secure them with a pin. Stitch a large “Z” across the entire overlapped section to hold the elastic securely together.
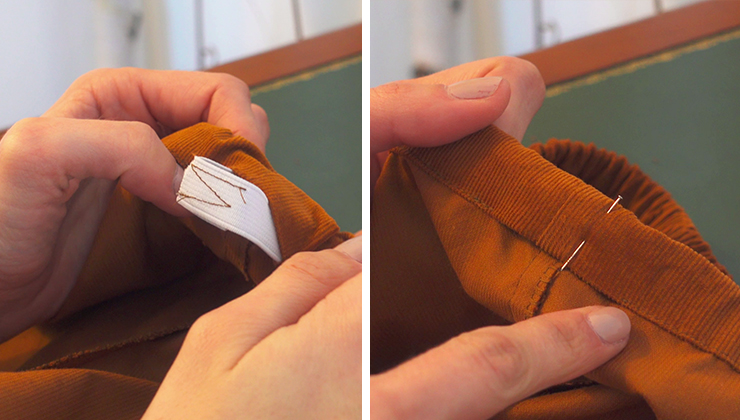
Tuck the elastic back inside the casing, then close the opening by topstitching along the same stitching line.
6. Sew the Elastic Leg Casings
For each leg opening, use the same method as for the waistband. This time, press a first fold 5 mm (3/16 in) from the edge, followed by a second 9 mm (about 3/8 in) fold. Pin all the way around.
Topstitch the folded edge with a straight stitch, again approximately 2 mm from the inner folded edge. Remember to leave a 3 cm (1.2 in) opening near the crotch seam.
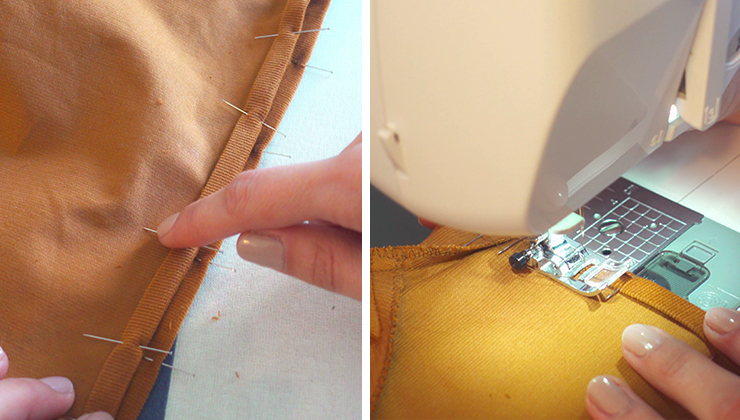
Thread a piece of 5 mm (3/16 in) wide elastic through each leg casing using the opening. Just like before, overlap the elastic ends by approximately 2 cm (3/4 in) and pin them together.
Machine stitch back and forth across the overlapped section a few times to secure it.
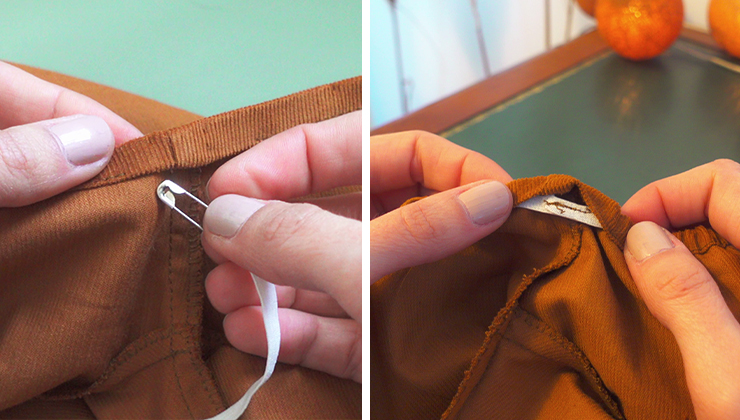
Final step: tuck the elastic inside the leg casing and close the opening by continuing the existing line of topstitching.
Your little pair of baby bloomers is finished! There’s just one last simple step to make them look their best: evenly distribute the gathers around the waistband and leg openings.
🧡 MY TIP 🧡
For the finishing touch, you can hand sew two buttons onto the front of the bloomers, positioning one on each side of the center front seam.